Thursday, April 16, 2015

How to Hang Small Quilts - Idea 1

I make lots of small quilts and art quilts and I wanted to figure out a way to easily hang them and change them out without making lots of holes on the walls. Well this works great and all you need is hook and loop tape and two small 3M Picture Hanging Strips.

I hand sew about an inch piece of the loop side of hook and loop tape (it's the fluffier side) on each upper corner back of the quilt.


Then I press the Picture Hanging Strip on the loop with the pull down strip facing down.
Then peel off the liner, line up on your wall where you want to place it and press on each corner for about 30 seconds. Voila! You can remove these strips anytime and swap out your little quilts.Here are some of them:

Also see my posting on How to Hang Small Quilts Idea 2.

Wednesday, April 15, 2015

Little Quilted Zipper Pouch/Bag

This is the latest little zipper bag I just finished. I will be teaching a class at the Quilters Anonymous Quilt Guild in May on how to make a Modern Stash Buster Zipper Bag with lining, so I've been making examples to show to class. 


It will be lots of fun! I'm looking forward to it!

Wednesday, April 8, 2015

Scrappy Little Houses - Finished

I made these scrappy little houses with leftover pieces of fabric on individual squares for a traveling project. They started with batting and no backing so I could easily add hand quilting and embellishments. Of course I had to make a little dog house too.
These are the blocks before embellishing.

I had some fabric in my stash with city roads and pictures which was perfect for the boarders. I used 1 inch strips folder under on both edges and machine stitched between each block. Then I added the backing and did some hand quilting along each boarder to hold to all together.

Thanks for reading!

Friday, March 20, 2015

Scrappy Little Houses - Quilt In Progress

These scrappy little houses are all set for a traveling project to add hand quilting and embellishments. I pulled bits of fabrics left over from projects and just cut some shapes. They are stitched to cotton batting without any backing yet. I plan on sewing them on backing later.


Here is a picture of the back of them showing they are machine sewn down to hold in place for traveling. I kind of like these too.


http://frame.bloglovin.com/?post=4178928412&blog=4408357

 This is also posted on Freshly Pieced WIP Wednesday!

Wednesday, March 11, 2015

Four-Leaf Clover Quilt Block for St. Patrick's Day

My daughter has found four-leaf clovers twice already. I saw her find one them when we were walking on a gravel path with clover patches everywhere and she said I think that's a four-leaf clover, she reached down and sure enough it was her second four-leaf clover! She has them pressed in one of her Harry Potter books. 

So I thought I would make a four-leaf clover and play with some spring greens!

Happy Spring! Now this year I might try some green beer this year - heh heh!  

Sunday, March 1, 2015

Boston Love Art Quilt

Since we have two beloved Boston Terriers, I made this art quilt for them - ha! Or at least they inspired it! This is applique and crazy quilt blocks for the border then machine quilted.
Size: 24" x 18"


Of course I had to include some pictures of Sweet Schatzie and Little Olive.

Schatzie

Olive

Wednesday, February 18, 2015

Hummingbird Art Quilt

This little art quilt started with the 4 prairie points in the middle that I put on the purple background for contrast. They looked like mountains to me so then I started building it from there. The border is crazy quilt blocks or "made fabric".


 It is machine quilted with some hand quilting.


Size is 18" x 24"

Tuesday, February 10, 2015

Pinwheel Poppy Sprouts

Dreaming about Spring made me think of red pinwheels. I saw my make believe flowers coming out of sprout leaves. Poppies generally grow in big groups from all their seeds so this is my interpretation of seeing a field of poppies.


I added hand stitchery which I love for texture.This was a great project while traveling on vacation.
 Size 10" x 10"

Monday, February 2, 2015

Spoonflower Fabrics

I love Spoonflower which is a site for anyone that wants to design a fabric online and upload it to Spoonflower. Then they will print the fabric on several different fabric options and lengths. 


I recently bought some calendar towel prints from their design challenge. There are so many amazing designs that it was hard to choose. Here are some of them that I ordered in cotton-linen.


They just need to be hemmed with a double fold and then washed to bring out the softness. Make the kitchen cheery!

I may have to give it go one of these days....

Saturday, January 24, 2015

Cotton Candy Color Wheel

Cotton Candy Color Wheel Quilt


This all started out when I saw a warm violet-blue on a chart. I said to myself I have to find that color in my stash when I get home and build on that. I found it! Then added to it. All these colors remind me of cotton candy so that's the name if this wall quilt. 

I used a Dresden plate shape but didn't make the ends pointed. I found that a great way to turn under the curved edge is to use iron on stretch interfacing cut in strips on the bias. Stitch this around the edges on top of the fabric with the iron on side facing up.Then use a pinking rotary cutter around the edges.


 Fold over the interfacing to the back and tap the iron as you go around the curve slowly so that it is a smooth curve. You can reposition if you tap it. Then press completely.

 Then I used a machine blanket stitch around the edge. The center is also blanket stitched.

 Now I have my own color wheel on my sewing room wall! 

This would be fun to do with dark shades also or light to dark!

Wednesday, January 14, 2015

Fabric Baskets

Want a quick weekend project? These fabric baskets are great for storage and easy to sew up. The taller one is great for storing yarns and such and I made a shorter one for my husbands office for the catch-all things. I was experimenting with sizes so I'll definitely make some more of these and save the measurements!


Here is a square version for a tissue box.I measured around the box and added an additional inch around for wiggle room and 2 inches to fold over the top.


You will need:
Outer fabric
Lining fabric (coordinating or contracting which shows on the cuff)
Iron on interfacing - cut slightly smaller than the fabric


Friday, January 2, 2015

Giving Back

New Year's day weekend is a perfect time to start giving back. This is a charity baby quilt that will be donated to the Madigan Army Medical Center through the Quilters Anonymous Quilt Guild.

This is one of many charity projects that the Quilters Anonymous Quilt Guild members do throughout every year. 


A guild member can choose to do one or more of these for the baby quilts: 
  • cut out the pieces
  • sew the quilt top
  • quilt it with a flannel backing
  • and/or add the binding

This one is ready to quilt next!

This is also a great way to learn quilting skills and giving back at the same time! I will be making more of these :)

Tuesday, December 23, 2014

Happy Holidays!

Wishing everyone Happy Holidays! Decorations are spars this year from having the flu for a week and still not 100% back to normal. But I had to have my Christmas monkeys and Swedish gnome out cause they make me happy!


I have lots of quilting projects started and planned for 2015 so stay tuned!

Monday, December 22, 2014

Biscornu Pin Cushion

I recently saw how to make a biscornu out of 2 small squares of fabric. I had never heard of these before so had to look it up. A biscornu is a French term for a small 8-sided pincushion, usually made with cross-stitch or embroidery.

I thought I would try making one with some fabrics from charm packs which are 5" x 5". Now I'm hooked! They are fast and fun to make.

Start with two contrasting fabrics. Fold each square in half and cut 1/4" in. Repeat folding in half in the other direction and cut 1/4" in. Do this on both your top and bottom fabrics.These are your pivot points. 


Line up  the top piece at the middle of the bottom piece and start sewing to the edge.


Keep your needle down at each corner and pivot and repeat. Be sure to keep an opening on one side with back-stitching.


Push the corners out with a pointed tool.


Stuff with polyfill batting and push it into each corner. Then hand stitch the opening closed. I then added button in the middle with a button kit to make fabric covered buttons to match or contrast.


Instructions:
  • Pick two contrasting fabrics. 
  • Fold each square in half, finger press at the edge and cut 1/4" in. 
  • Repeat folding in half in the other direction and cut 1/4" in. 
  • Do this on both your top and bottom fabrics.These are your pivot points.
  • Line up  the top piece at the middle of the bottom piece and start sewing to within 1/4" from the edge.
  • Keep your needle down at each corner and pivot and repeat. Be sure to keep an opening on one side with back-stitching.
  • Push the corners out with a pointed tool.  
  • Stuff with polyfill batting and push it into each corner.
  • Then hand stitch the opening closed.
  • Optional: Add a button in the middle - one on top and bottom.
  

Saturday, December 13, 2014

Fat Quarters Gift Idea for a Quilter Friend

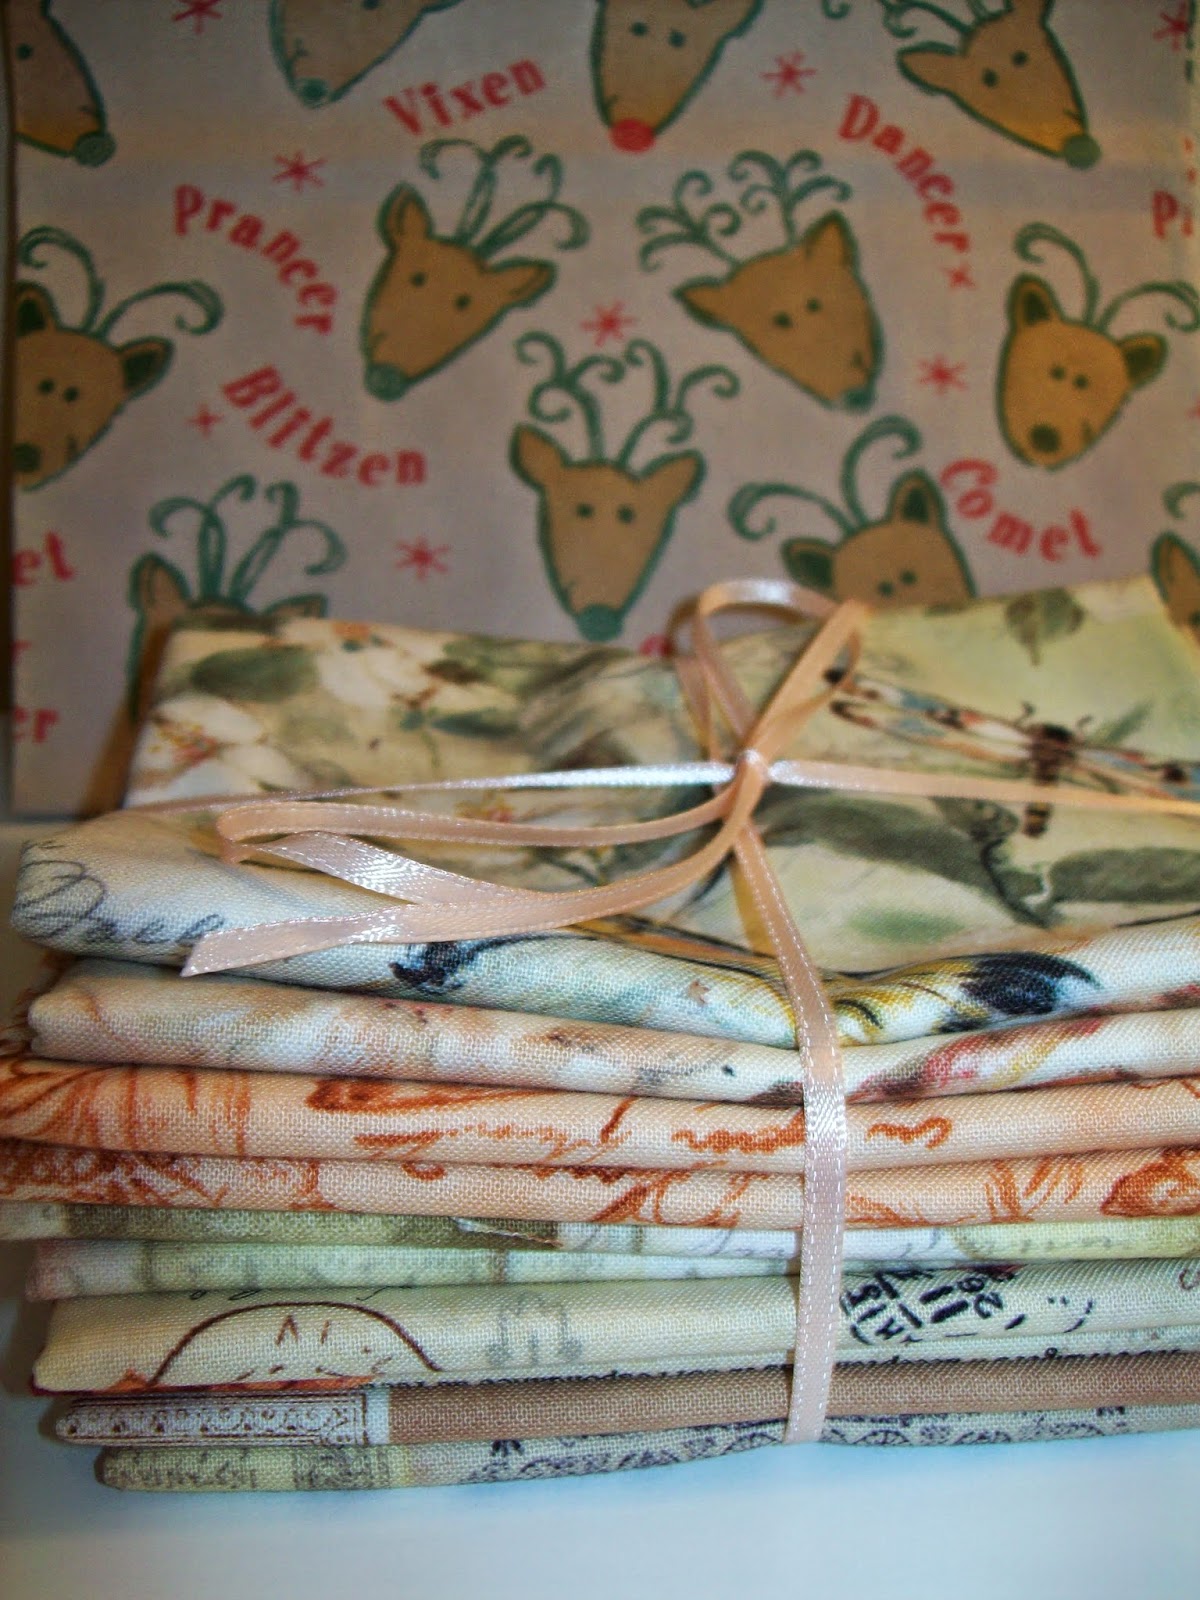
Not sure what to get for a quilter friend? How about cutting your own fat quarters and make your own bundle! Buy 1/2 yard cuts and then cut them in half along the fold line which will measure 18" x 22". You can keep one of the fat quarters for your stash too!

These are all muted light colors I found which are always good to fill in a stash especially since its natural for the eye to pick mid toned colors.


Tie a ribbon around then and share. Happy quilting!