Tuesday, July 18, 2017

Boho Round Pillow

I love the Dresden blade which can be used for fan blocks, flowers, and circles. I've made a few quilted projects using this and have so many more I want to make. 


I was inspired by some vintage fabrics that I had set aside and inspiration hit one day - the Dresden blade for a round pillow! I started with a 16" pillow form and sized the blades for it. I needed to fill in some fabrics and 
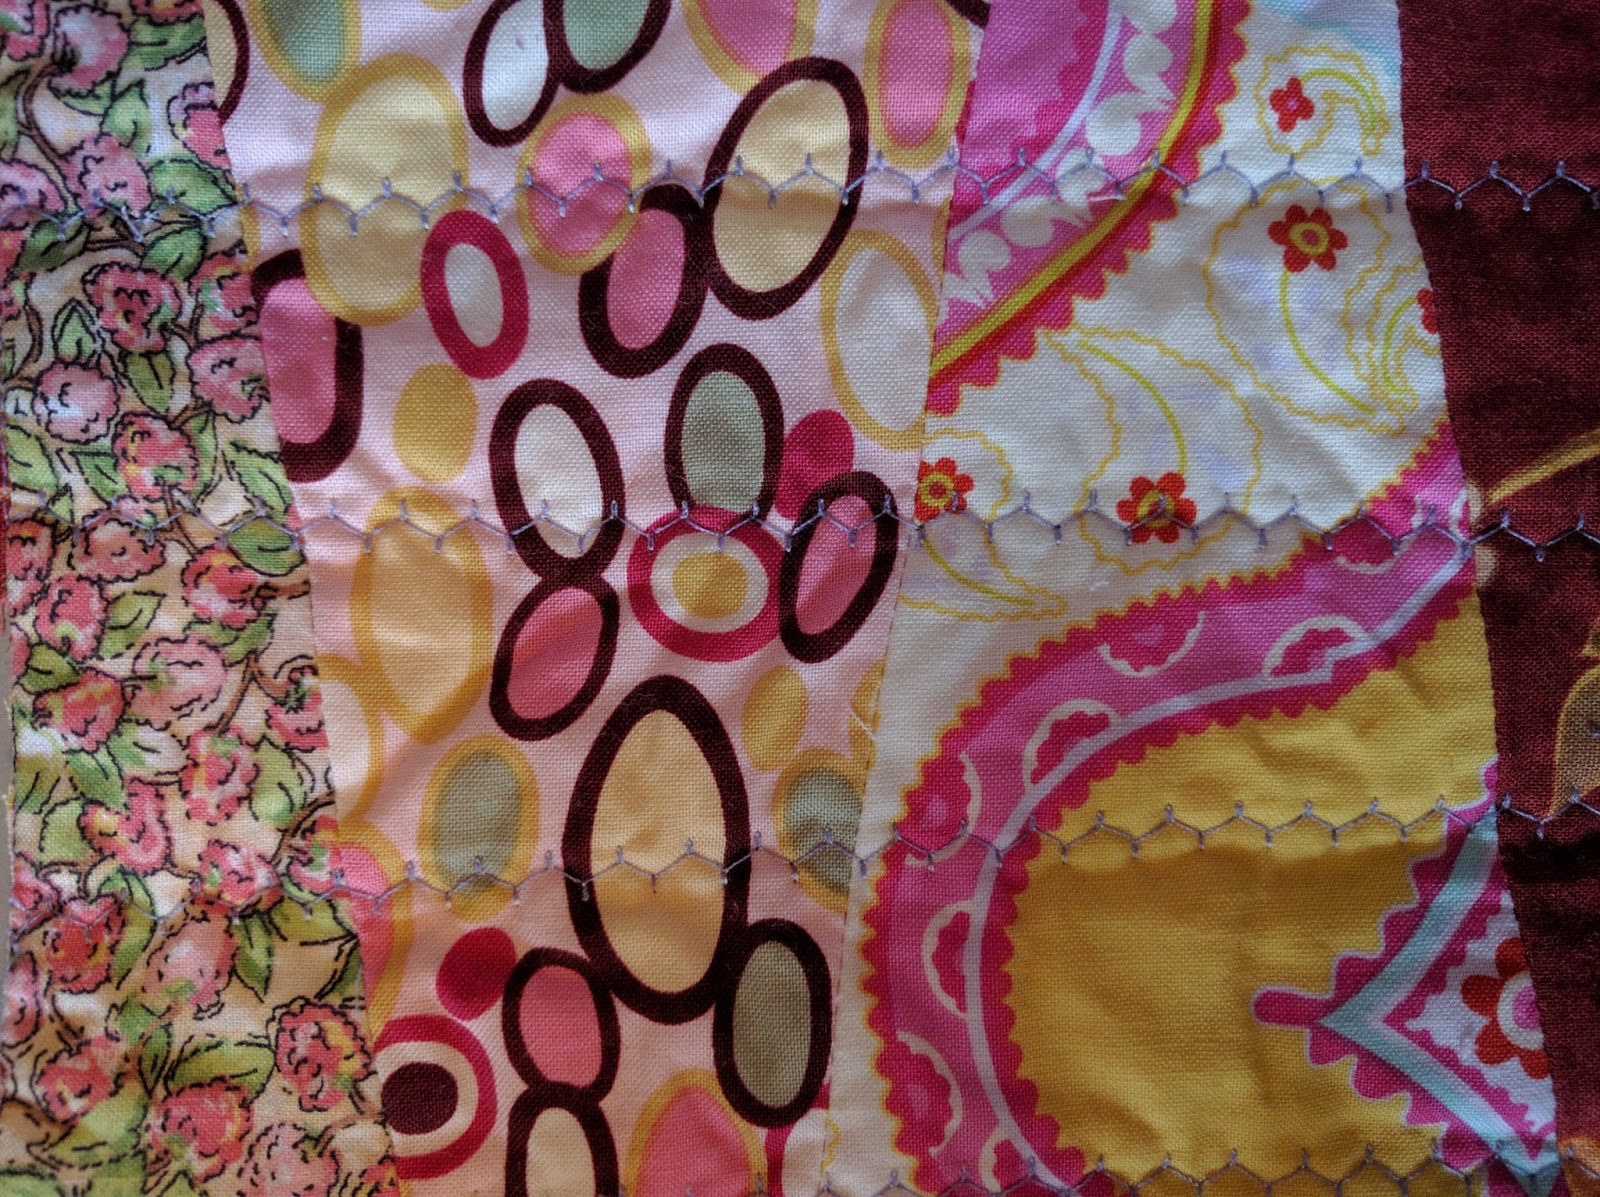
selected some that looked vintage (can you tell which are vintage and which are new?)
For making a pillow I wanted some stability so I spray basted it to muslin before quilting it.
For the center I cut out a cardboard template and used the foil trick for a perfect pressed circle. Lay a small piece of foil down, next lay your fabric right side down, then add your cardboard template on top. Fold up all of the edges toward the center and press from both sides. Let cool completely. Then remove the foil and cardboard. Press one more time.

I gathered the edges before sewing the front and back together so that it would fit around the pillow better. I like the rumpled look of the edges.

I made the backing with overlapping flaps for ease of removing the cover and washing it and I added a tie.

Here are some of the other projects I've made with the Dresden:

 Cotton Candy Color Wheel


Tuesday, July 11, 2017

Pink Dresden Flower

I had lots of pink fabric strips left from the Sea of Pink quilt I made and realized it would be perfect with the Dresden template and make it into a flower.
The center circle is crazy patch pieced with some french knots add at the end for quilting it. The blades are hand quilted.
The background needed some subtle contrast so I used a pale blue batik and machine quilted it with light blue thread around my heart design to make it pop. I love the little pigs fabric, whic makes it whimsical! I feel relaxed looking at this hanging on my wall. 

This is what the template looks like: 

I got my EZ Quilting template from Darlene Zimmerman's website many years ago. The Missouri Quilt Co has any extra long template that can cut up to 10" blades.


Saturday, June 10, 2017

Miniature House block

This miniature house block is 1 1/4" square. I wanted to do a tiny challenge after making two very large pictorial quilts.
 
 
It was challenging to get such short widths to be perfectly straight. I would like to make several of these and make a collection of tiny houses in different colors.

Sunday, April 30, 2017

The Duck

After making the big poppy quilt I loved the precise piecing process of Ann Shaw quilt patterns. I picked this duck to make next and it's cheers me up when I see it on the wall. I love the colors too.


I used all batiks to give it a natural look. Here are all of the individual pieces cut before being sewed. They are all pinned on a foam board so that they stay grouped correctly. This is a great way to adjust any fabric color choices before sewing also.
 Precision pinning is required to assure each piece lines up to matching marks.
 Here is the back after all sewing is done and before the freezer paper is removed.
 Yeah everything is finally pieced and ready for machine quilting.
Here is a details of the machine quilting.

After two big pictorial quilts in a row - now I'm ready to makes something simple or smaller!

Sunday, January 29, 2017

Pink Poppy

At last I finished this large poppy art quilt. It makes a very nice wall art piece.
It's all pieced and then lots of machine quilting. This is from a class I took from Ann Shaw through the Quilters Anonymous Quilt Guild. At first I thought wow this is going to be a lot of work drafting each piece from the template and cutting precisely and sewing precisely but it went very smooth. She has great step by step instructions to help make it a little easier. It does require patience and precision sewing.
Here are some details of the machine quilting with some thread blending.

This quilt is 40" x 33". Now I'm making a duck with this same pieced method.

Monday, December 26, 2016

Winter Quilts for the Doggies

Our little Boston Terrier dogs love to snuggle under blankets most anytime. With their short hair they get cold easily so I figured it was time for new quilts for them for the cold winter days.
I really just grabbed the first three colors in my stash that jumped out at me. Then decided to cut them in simple squares laid out in this simple pattern. I quilted it by stitching in the ditch.
I like to sew on my binding by sewing it on the back of the quilt first. Then folding it toward the front and machine stitch close to the edge.

This is the back side showing the stitching is just inside the binding.

Here is the front side of the binding:
I got this quilt made first and they both wanted to use it. One would drag it to their dog bed and back and forth. So I had to get to work fast on the quilt for the other dog. Here is the other doggie quilt:


Yes the doggies get patterned quilts too!

Saturday, December 3, 2016

Quilting Lessons Learned

Quilting Lessons Learned

Every quilt and sewing project I make I learn something new. Sometimes it's a great short cut, and other times it's a lesson learned on what not to do! Here are some of the things I have learned recently:

Curved Piecing
Sew slowly and take breaks because it takes a lot of focus setting in a curve. Also try to sew all of the blocks together until you are done rather than switching projects or at least within a few days apart. This keeps your 1/4 inch more exact and helps prevent slight mis-sized blocks or ripping out seams. On the quilt above I had sewn a couple of blocks and then worked on other projects. When coming back to this quilt I was off a little and had to redo the first couple of blocks to be consistent so all the circles would meet precisely.

Double Cotton batting in a quilt - I love the cotton batting but somethings it is too light weight for the winter. So I experimented with double layers of cotton batting. It does work good when the quilting is spaced wide between stitch lines as it will puff up more when washed. It didn't work so well with stitches close together once the quilt was washed, as there needs to be room for the layers to pucker.

Raw Edge Quilting - This can turn out really nice if you want a rustic well loved quilt look instantly. BUT I recommend tighter stitch length, leave ample space from the stitch line to the cut edge, and use high quality fabrics such as batiks which have a tighter weave. Or I would suggest a zigzag stitch up to the edges instead of a straight stitch. (I ended up needing to zig zig around the outside afterwards.)
Directional Pressing vs Open Seams - I normally like to press my seams open so that everything lays as flat as possible. However, there are times that pressing to one side is beneficial. After making myself press in one direction I found everything still lays very flat, pressing goes so much quicker, and once quilted it looks the same as seems pressed open.

Setting Seams First
When pressing in one direction, set your seams first (this really makes a difference) place right sides up, put iron down on section you are pressing away from. Slide iron toward the seams. 

Machine Quilting Straight Lines and Rows - Start with one line in the quilt that is important to be straight and place blue tape along the line (a smidgen outside of it) and machine stitch in the ditch with a slightly longer stitch. My machine defaults to 2.5 so I change it to 3.0. Then each line there after seems to be very straight. I still keep it at 3.0 stitch length.


Decorative Stitches
If you have decorative stitches on your machine they work great for quilting too!

Tidbits 
- Save your cotton batting leftover pieces for dusting and furniture polishing!
- Save your fabric trimmings and leave them out for birds to grab from nests!


It seems like every project I make I learn something new or a simpler way of approaching something. I know I will encounter more lesson learned to pass along.

Sunday, November 27, 2016

Four Patch Blocks Lap Quilt

This is an old fashioned pattern with the 4-patch blocks laid out on point and then sewn in strips with a large strip between the rows. There may be a name for the block layout but I haven't been able to find it.

This quilt called for "vintage" fabrics which I pulled out from my stash (yeah its hard to get rid of any fabrics). I machine quilted free form stars and moons in the 4-patch blocks. And a zig zag down the full strips. I washed and dried it on hot to get it nice and puffy.

As soon as I lay a quilt on the floor to take a picture of it one of my dogs thinks that must mean it's play time! So of course we play fetch for awhile.

Sunday, October 30, 2016

Day of the Dead Art Quilts

I love getting out the day of the dead art quilts this time of the year. I still want to make more of these. I love all the colors and designs.

 
I'm enjoying Fall and natures colors this time of the year. It helps with all of the rain in the Seattle area.

Sunday, October 16, 2016

It's okay to have lots of fabrics in your stash

There I said it....It's okay to have lots of fabrics in your stash! Do you know why it's okay, because you never know what color combination will jump out at you just by seeing them in your fabric collection.
Think about the last day you may have been snowed in and wanted to start a project. Well what better way than to be able to pull right from your stash! Also getting a set of fat quarters from a collect is a great way to fill in.
Happiness is finding the perfect fabric in your stash for the quilt binding. When you just finished a quilt and don't want to run out for a fabric what better way than to go through your stash and find a color combination you may not have thought of or planned. Like this flower quilt I originally planned to use turquoise binding but when I tried the polka dot fabric it worked so much better. The turquoise would have made it look to "heavy" and not as fun looking as the polka dots.
Laying out your fabrics too to explore color combinations gets the creativity going.
 I have this set planned for a project soon. I love all these retro inspired fabrics.
   Time to stock up for winter projects if you haven't done so already!