
Quilting Lessons Learned

Curved Piecing
Sew slowly and take breaks because it takes a lot of focus setting in a curve. Also try to sew all of the blocks together until you are done rather than switching projects or at least within a few days apart. This keeps your 1/4 inch more exact and helps prevent slight mis-sized blocks or ripping out seams. On the quilt above I had sewn a couple of blocks and then worked on other projects. When coming back to this quilt I was off a little and had to redo the first couple of blocks to be consistent so all the circles would meet precisely.
Double Cotton batting in a quilt - I love the cotton batting but somethings it is too light weight for the winter. So I experimented with double layers of cotton batting. It does work good when the quilting is spaced wide between stitch lines as it will puff up more when washed. It didn't work so well with stitches close together once the quilt was washed, as there needs to be room for the layers to pucker.

Raw Edge Quilting - This can turn out really nice if you want a rustic well loved quilt look instantly. BUT I recommend tighter stitch length, leave ample space from the stitch line to the cut edge, and use high quality fabrics such as batiks which have a tighter weave. Or I would suggest a zigzag stitch up to the edges instead of a straight stitch. (I ended up needing to zig zig around the outside afterwards.)

Setting Seams First
When pressing in one direction, set your seams first (this really makes a difference) place right sides up, put iron down on section you are pressing away from. Slide iron toward the seams.
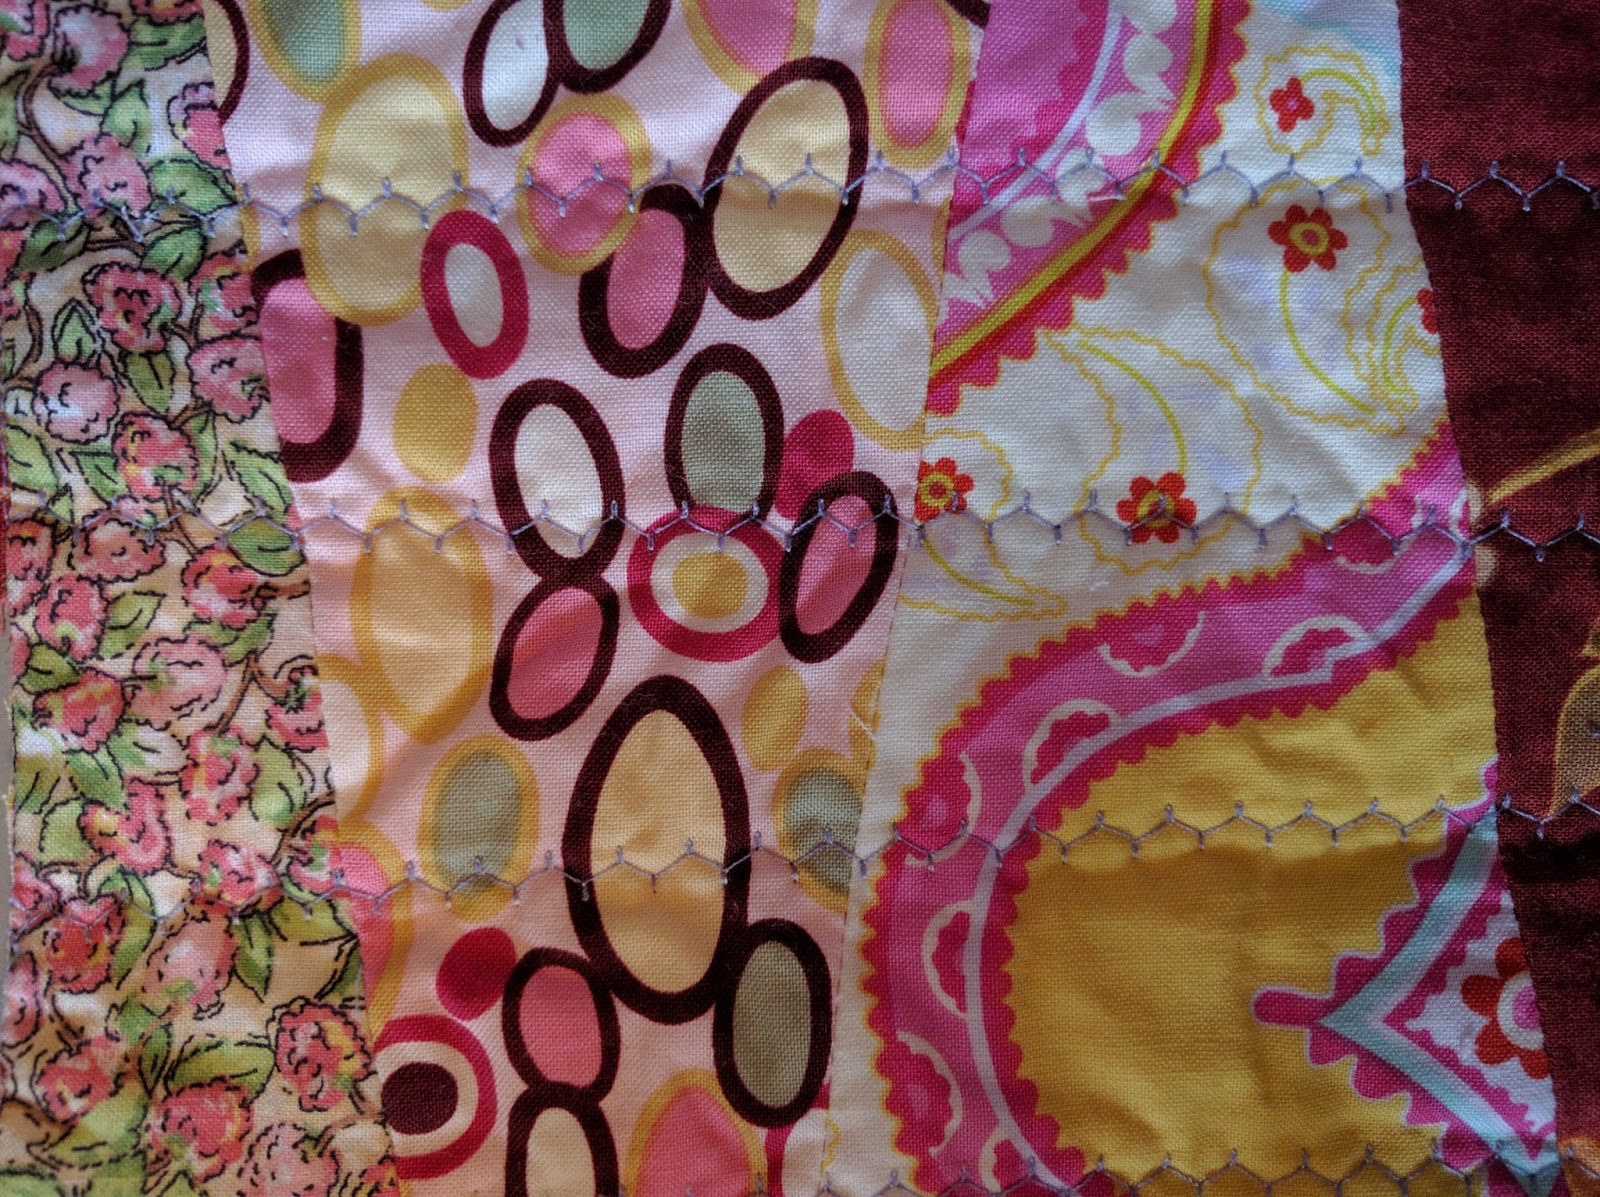
Machine Quilting Straight Lines and Rows - Start with one line in the quilt that is important to be straight and place blue tape along the line (a smidgen outside of it) and machine stitch in the ditch with a slightly longer stitch. My machine defaults to 2.5 so I change it to 3.0. Then each line there after seems to be very straight. I still keep it at 3.0 stitch length.


Decorative Stitches
If you have decorative stitches on your machine they work great for quilting too!
- Save your cotton batting leftover pieces for dusting and furniture polishing!
- Save your fabric trimmings and leave them out for birds to grab from nests!
It seems like every project I make I learn something new or a simpler way of approaching something. I know I will encounter more lesson learned to pass along.
No comments:
Post a Comment