Saturday, November 21, 2015

Miniature Storm at Sea

Storm at Sea is one of my favorite quilt patterns. This is my miniature version with batik turquoises and teals and cream. Even though all of the piecing is straight seams, it gives a curved effect.


The cream fabric has a subtle text print that made me think of on old navigation map. I imagined making this while on a ship going across the ocean. So it called for hand quilting. This is 19" x 19".

Sunday, November 15, 2015

Happiness is... an organized fabric stash

Yes indeed, happiness is... an organized fabric stash!

After I had organized my kitchen towels I realized it was time to organize my fabric stash a little better. I already had the general color groupings, but I went through and refolded everything and got rid of any fabrics that weren't zinging for me any longer. I took them to the Quilters Anonymous Guild meeting where there is a fabric donation table that all members bring in scraps of any kind and other members may find just what they were looking for. 

Once you can see everything at a glance its fun to see which colors you are drawn too and may need to fill in ;) I have my fabric strips organized in bins which makes it super easy to pull out for projects and the crazy quilts. 
 
 And of course there is the big basket for all the little scraps!
 Always treasures to pull out that are just right for making the scrappy zipper bags and little art quilts.


Saturday, November 7, 2015

Kitchen Towels

I started wondering why I have so many kitchen towels until I pulled them all out of the cupboard to get them organized and stacked up better. Well take a look at these stacks....hmmm they look at a lot like a fabric stash!
I tend to buy 100% cotton towels but I also like the 50/50 cotton/linen towels. Here are some of my retro towels.
I really like the calendar fabrics on Spoonflower. If you order a fat quarter it is the perfect size to sew into a kitchen towel. Here is a previous post of the 2015 kitchen towels. Spoonflower is running their 2 for 1 fat quarter special until November 12, 2015 so I just ordered some 2016 calendar towel fabrics. So may great designs and colors.
 
I figure you can never have too many dish towels since they do wear out at some point. They also can be cut up for quilt projects later even if there are stains you can cut around them.

Tuesday, November 3, 2015

Dia de los Muertos - latest in series

I didn't get this posted quite in time for Dia de los Muertos, but here is my latest art quilt in this series.
 
  I must say I love her bow!

This is made with cotton fabrics, ribbon, fabric paints, and embroidery. It is 16" x 18"
Check out some from my previous post link here.

Monday, October 26, 2015

Fabric Basket

Fabric baskets are a great weekend project and they make nice gifts too, especially if you fill them with some goodies! With holidays coming up I can see one with bath salts and bubble-bath, etc.
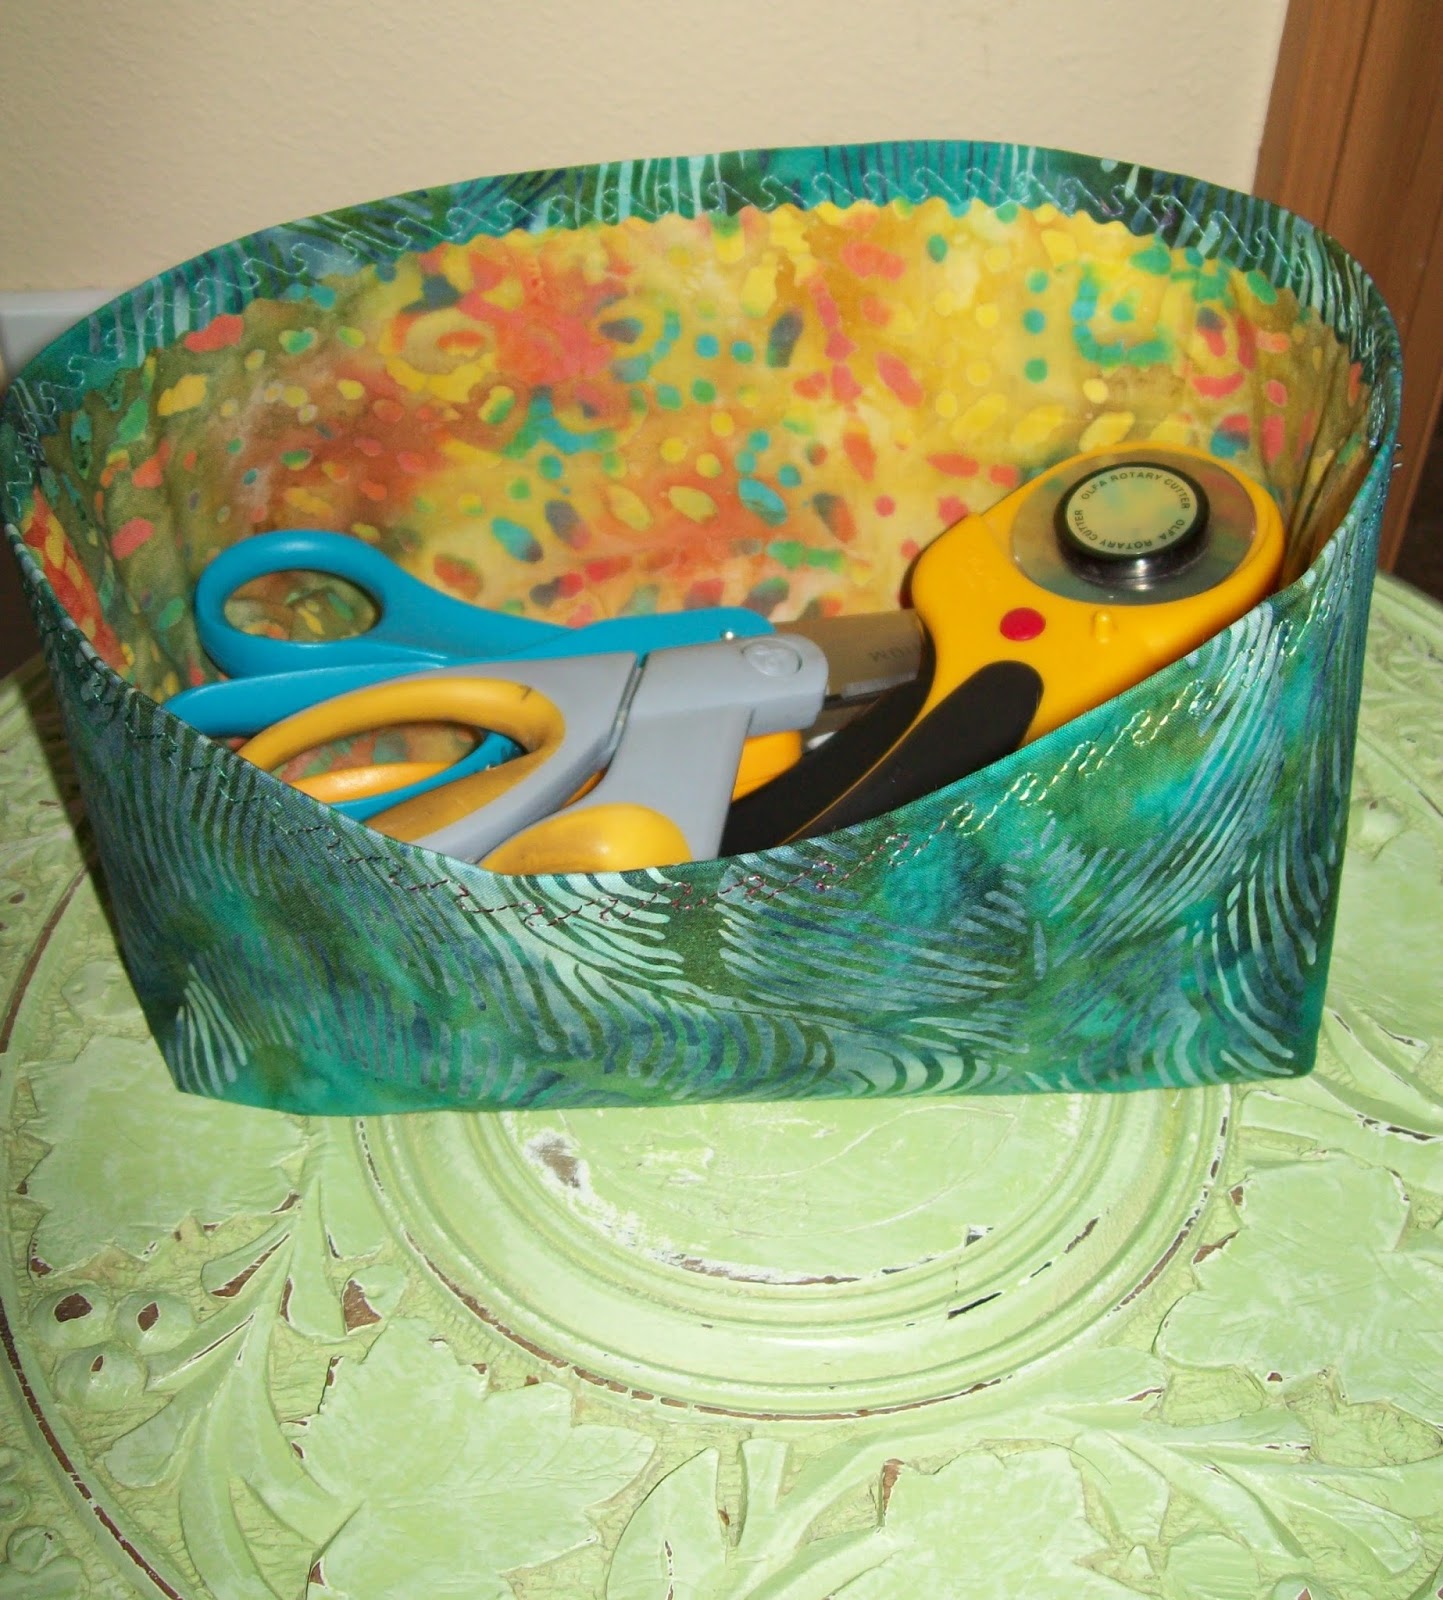
I've made a few different kinds of fabric baskets over the years which are great to make them in whatever size you need. I needed a catchall for scissors and rotary cutters. So I made a template in the size I needed [I had to put my math hat on - ha!] and lined the outside fabric with fairly heavy fusible interface. Then squared off the bottom sides.
I cut the lining to the same dimensions as the outside except I cut the top edge 1/2 inch shorter so I could fuse the outside edge over the top. This was stitched with the same squared off bottom sides and positioned inside.
 
This shows the seam down the middle. To finish it off I used a decorative stitch around the edge. This is 8" x 5" around and 4" high.

Saturday, October 3, 2015

Scrappy Little Leaves

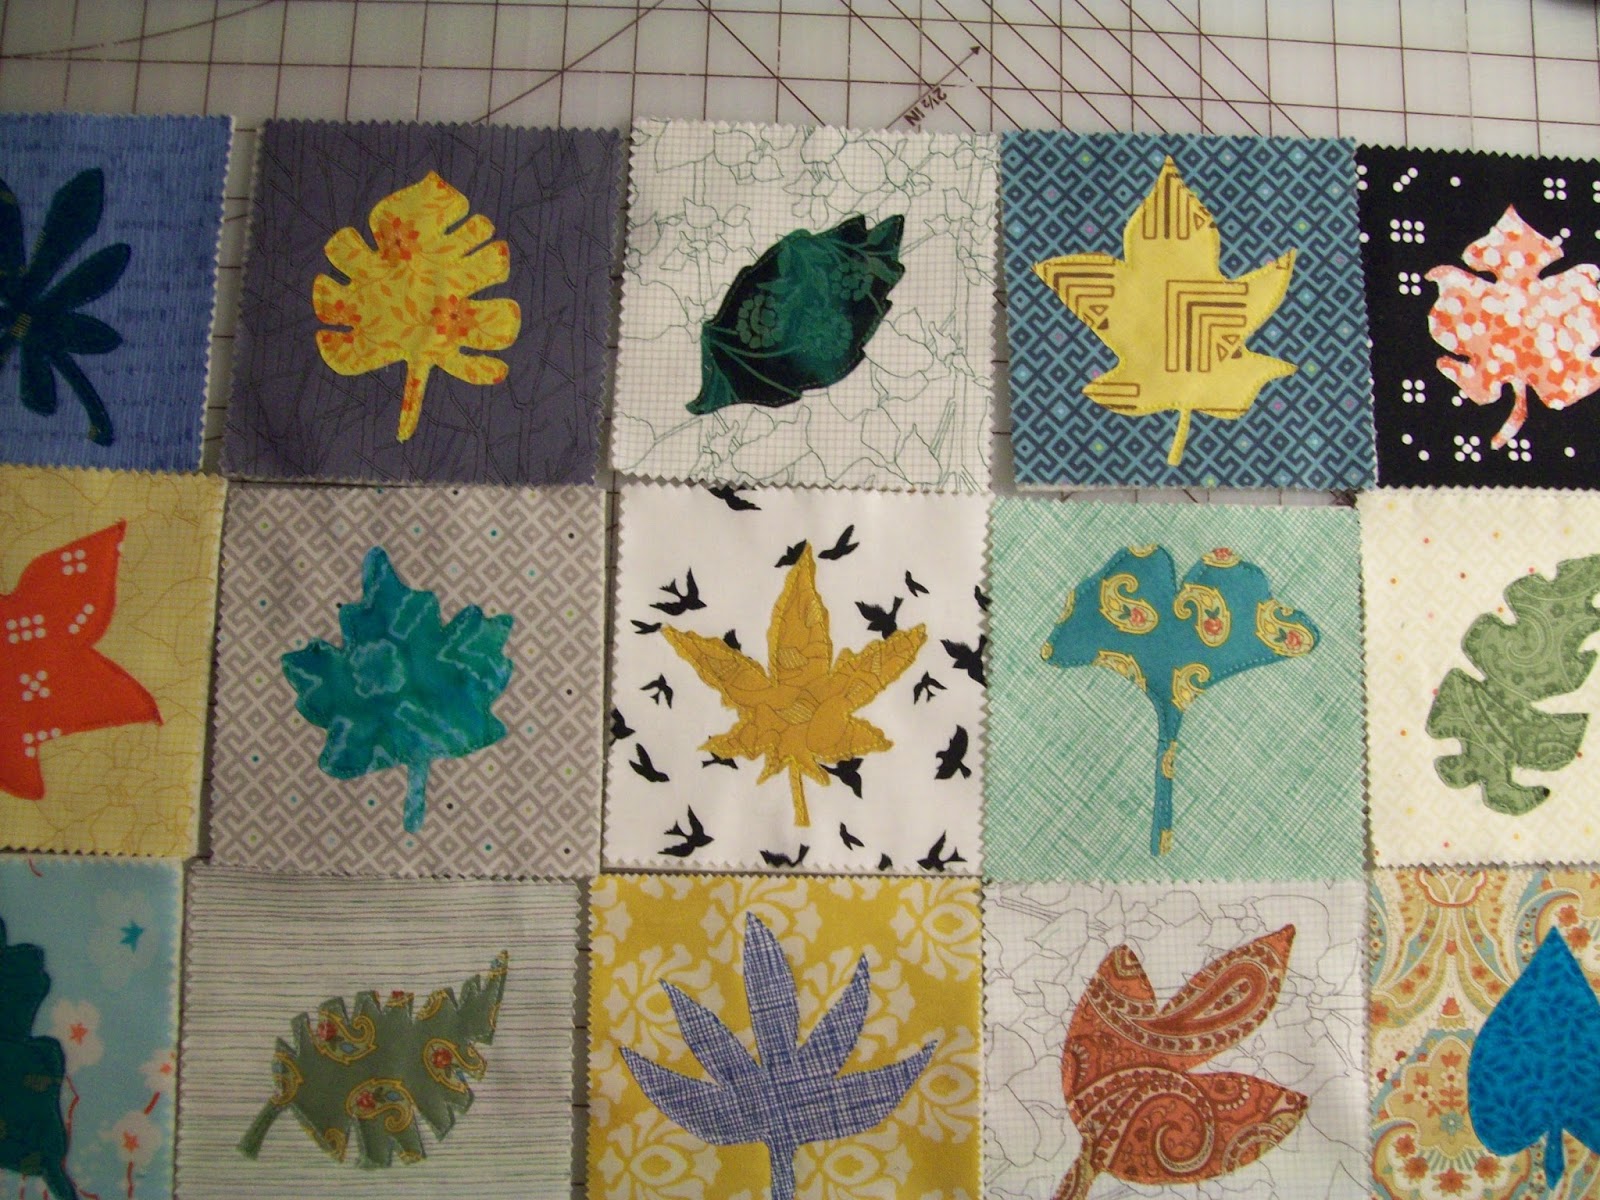
This is a scrappy little wall quilt of several different kinds of leaves finished just in time for Fall! This was inspired by the Scrappy Little House quilt I made for a travel project. So used the same idea with leaves by starting with 5" charm pack for backing squares and 5" batting squares. While on vacation I hand quilted them with embroidery floss. Here they are before embellishing.
I then added a backing fabric, and sewed 1/2" strips through all layers to hold the layers together.
I love how the variety of colors just meld together so well.


  Here are the leaf sketches I made and then traced them on the fabrics.
Here is my little sewing buddy Olive - all happy to be my office chair while I'm sewing at my machine! She is always by my side.
Thank you for following my blog! Happy Fall to All :)

Wednesday, September 30, 2015

Little Quilts in Home Decor

Here is an idea for home decor with little quilts. I got our battery powered lantern out for possible power outages in Fall and Winter so we'll be ready. And of course a big candle too!
Almost time for the Halloween decor with Fall colors next!

Monday, September 14, 2015

Mug Rug

September is National Sewing Month - whoo hoo! It was nice getting a summer vacation. I took along several sewing projects to add some hand quilting. I finished this little mug rug coaster with some french knots and some running stitches.
Lots of things are in progress and I will add new posts soon. September is also a good time for me to bring my sewing machine in to get a good cleaning and tune-up to keep it in great running condition. Its so hard to be without it for awhile but its a must do on my list!

Wednesday, August 19, 2015

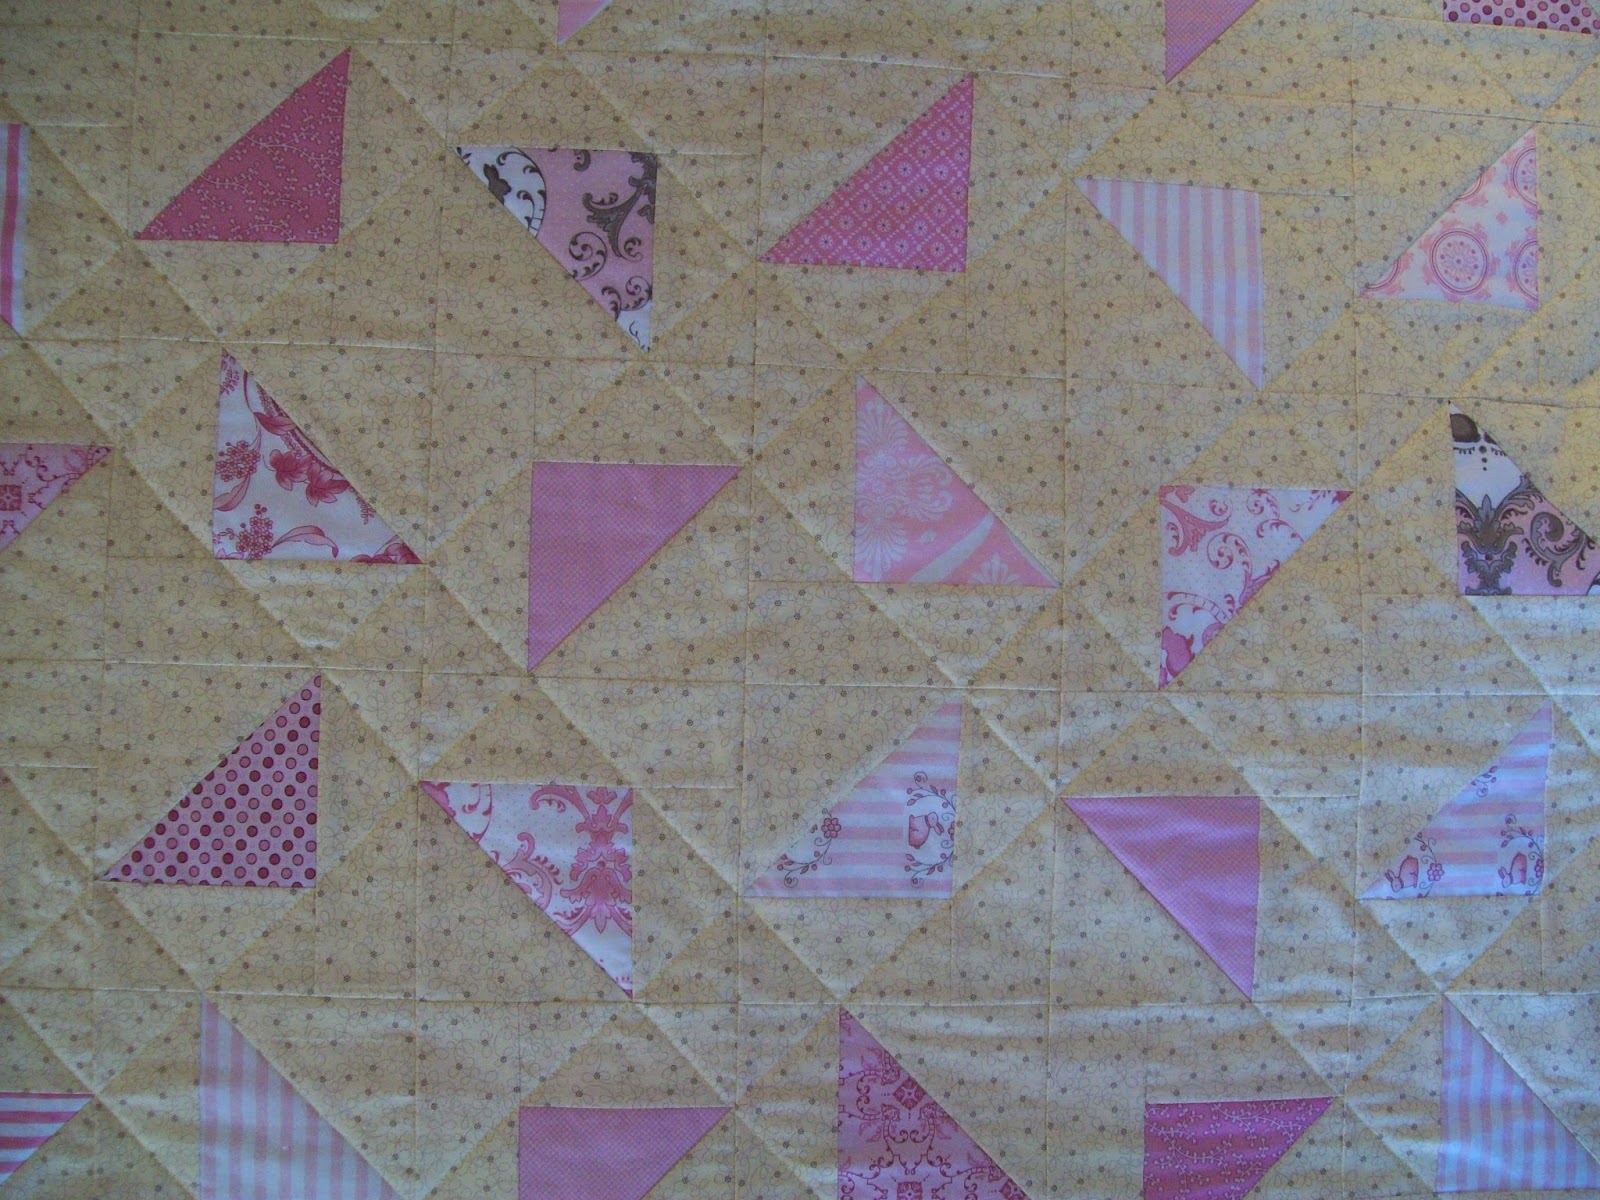
Baby Quilt for my Nephew's Baby

 This is a baby quilt for my Nephew's baby girl on the way!


 I backed it with yellow flannel so it will be nice and soft!

Sunday, August 16, 2015

Currently on my design wall

Here is a quick shot of what's on my design wall. Seems like I can never just work on one thing at a time because I have too many ideas!


Tuesday, August 4, 2015

Small Wall Quilt

This is a small wall quilt that is 25" x 20". I had a 5" charm pack of a Tula Pink fabric collection and wanted to just play with putting them together for a nice pop of summer colors on the wall.
I put 2 of the squares right sides together and sewed 1/4" around all 4 corners. Then cut diagonally in both directions to get 4 squares.
                                                 I hand quilted around the blocks.


                                                                        Voila! 


Wednesday, July 22, 2015

Slash and Sew Quilt Variation

This Slash and Sew (or Slice and Sew) quilt is a great summer time quilt. Yeah even though there have been really hot days, the evenings can get cooler and its nice to have a light weight lap quilt while reading, watching TV and hand stitching.
 
To get the floating shapes use a solid or near solid background fabric and contrasting colors for the inserted strips. I started with roughly 10" x 12" background blocks and 2 1/2" strips in variety of oranges to maroons. Then I cut the background block in half at an angle through the shorter portion and inserted a strip of fabric. So it will be roughly 12" x 12" once the insert is sewn in. The blocks will all be trimmed later.
Then I cut random sized strips through the block. I cut between 2" - 2 3/4". Layout an arrangement that you like. Then you will sew this strips together based on the layout.
 
Wait to trim the edges to square up the block until you have all of the blocks completed to determine your smallest block and then trim up based on that block. 

 Layout in rows that looks pleasing. Sew the rows together.

I layered the quilt with cotton batting and quilted the top in a chevron design. This was really fun to design on the fly and see how it turns out!

NOTES: There will be some small pieces cut off from the edges but save these for little projects. Also each row doesn't need to be the same size in width.

Tuesday, June 30, 2015

Simple Stars and Stripes


This turned out to be one of my favorite quilts!

It was inspired by this patriotic stash of fabrics I pulled together from my stash and lived with it for awhile in a vintage tool box. I had never made a red, white and blue quilt before so wanted to try it. I used creams instead of whites which gives it a vintage look.

I knew I wanted to make some kind of stars with stripes. Since I love an informal quilting process I started with a square and then I cut random sized triangles for the stars. After sewing, I trimmed to 1/4 inch.And squared up the block after both point were added.


For the stripes, I started sewing strips of reds and creams in random widths. Then trimmed to a width I liked. (Save the cut edges and piece together for small projects)
 I cut random sized triangles for the stars.After sewing on at an angle, I trimmed straight across the bottom. Notice the star points are larger so no matching was needed!
 On my design wall:
 
I quilted in 1/4 spaced rows for a modern look.


Cutting Instructions for each block:

Center star blocks: 
Cut 1 Blue fabric and 8 Cream fabrics 4 1/2" x 4 1/2" 
Star points cut 4 Blue fabrics 4 1/2" x 4 1/2" and cut in half (trimmed after sewing)

Boarder stars along red and cream strips: 
Cut 1 Blue fabric 4" x 4" 
Star points cut 4 Blue fabrics 4 1/2" x 4 1/2" and cut in half (trimmed after sewing)

Boarder Stripes: 
Cut Reds and Creams in random widths then cut to 4 1/2" long (will be trimmed to 4" later).

For sewing follow photo steps above.This quilt is 34" x 34" so has:
  • 4 center star blocks 
  • 9 boarder stars (note some of them are partial for the boarder)
  • 2 red and cream strip sets